FRP Cable Tray Installation & Maintenance Guide
Step-by-step installation, joining, earthing and maintenance guidance for FRP cable tray systems.

Proper installation is critical to the performance and service life of any FRP cable tray system. Follow these key steps to ensure a safe and durable installation.
Step 1: Plan the Route
Before installation, confirm the tray route on site. Consider cable quantity, bends, drops and future expansion. Mark support positions according to the tray type and load — the spacing distance and load should be equal to or less than the span and load allowed by the load curve.
Step 2: Install Supports
Brackets are available with heights of 50mm and 100mm (6 connecting holes at both ends) and heights of 150mm and 200mm (12 holes). Mount support brackets securely to structural steel or concrete, keeping all supports level and aligned. When choosing bracket width, keep reserve space for additional cables in the future.

Step 3: Lay the Tray Sections
Place tray sections on the supports starting from one end. When little power cable and control cable are used together in the same bracket, a separating wall must be used between them.
Step 4: Fixation
When brackets are horizontally laid, the connection between brackets should be set up within 1/4 of a span. Make a fixation every 2 meters on the horizontal run, and every 1.5 meters on the vertical run.
Step 5: Hoisting Precautions
FRP cable trays use sufficiently robust materials to ensure safety during installation, transportation and hoisting. When using ropes to hoist, place thick cloth or corrugated paper under stress points to protect the tray from damage. For heavy assemblies, use sturdy wooden boards to clamp the tray before securing with ropes to prevent deformation.
Step 6: Final Inspection
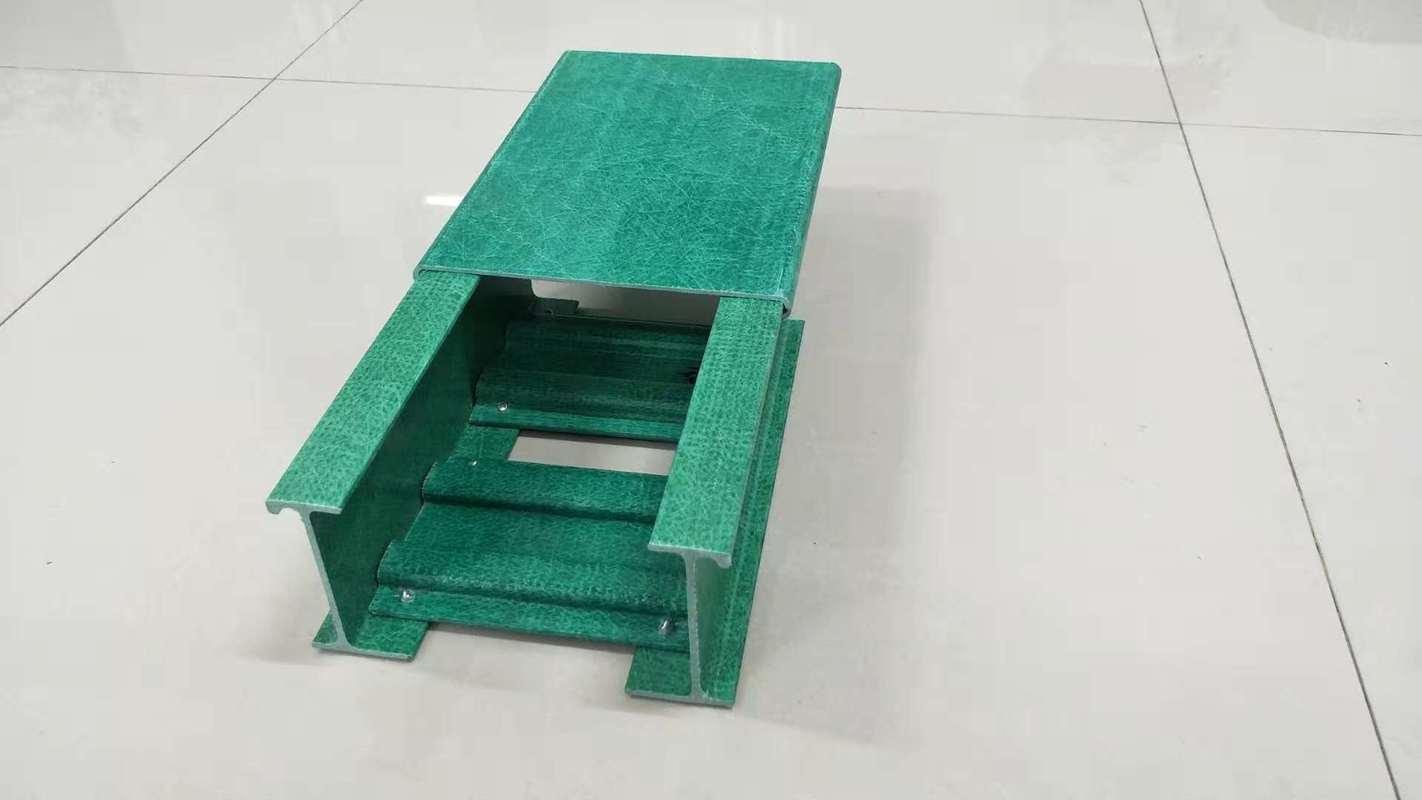
Check all connections, cover plates and accessories. For outdoor systems, always install covers and sealing plates at entry points to protect cables from weather and debris.
Professional Support from Guoshun
All Guoshun FRP cable tray systems are supplied with matching accessories and installation documentation. For project-specific questions, contact our engineers — we support customers from design to installation worldwide.